


The mainstream power consumption is rapidly shifting to solar energy. This poses a challenge to power consumers and suppliers. Installation of solar panels is on an upward trajectory while the cost has considerably increased over the recent past.
Installation of solar panels on the roof involves several steps which should be followed to install the panels effectively and efficiently to optimize solar power.
The following is a comprehensive guide to the efficient solar panels installation.
Determine the direction the panels should face
The direction faced by solar panels, and the angle at which they are installed are very crucial aspects for solar panels. The direction faced by the solar panels determines the efficiency and the power generated by the solar panels. The ideal direction to place the solar panels is typically the direction that receives maximum sunlight for the most extended duration during the day. The rooftop provides a base to the solar panels’ structure. Make sure the roof is strong and sturdy. Also, make sure the rooftop solar panel mounting structure has firmly fastened to the rooftop. The location of your home determines the angle at which the solar panels are set. The inclination angle is a factor that drives to maximum solar energy output. A solar tracker can be used to enhance the solar conversion efficiency. Additionally, you should measure the dimensions of your rooftop to ensure the entire solar panel structure can fit on the roof correctly. Besides, you might also want to leave a space for the addition of more solar panels in the future.
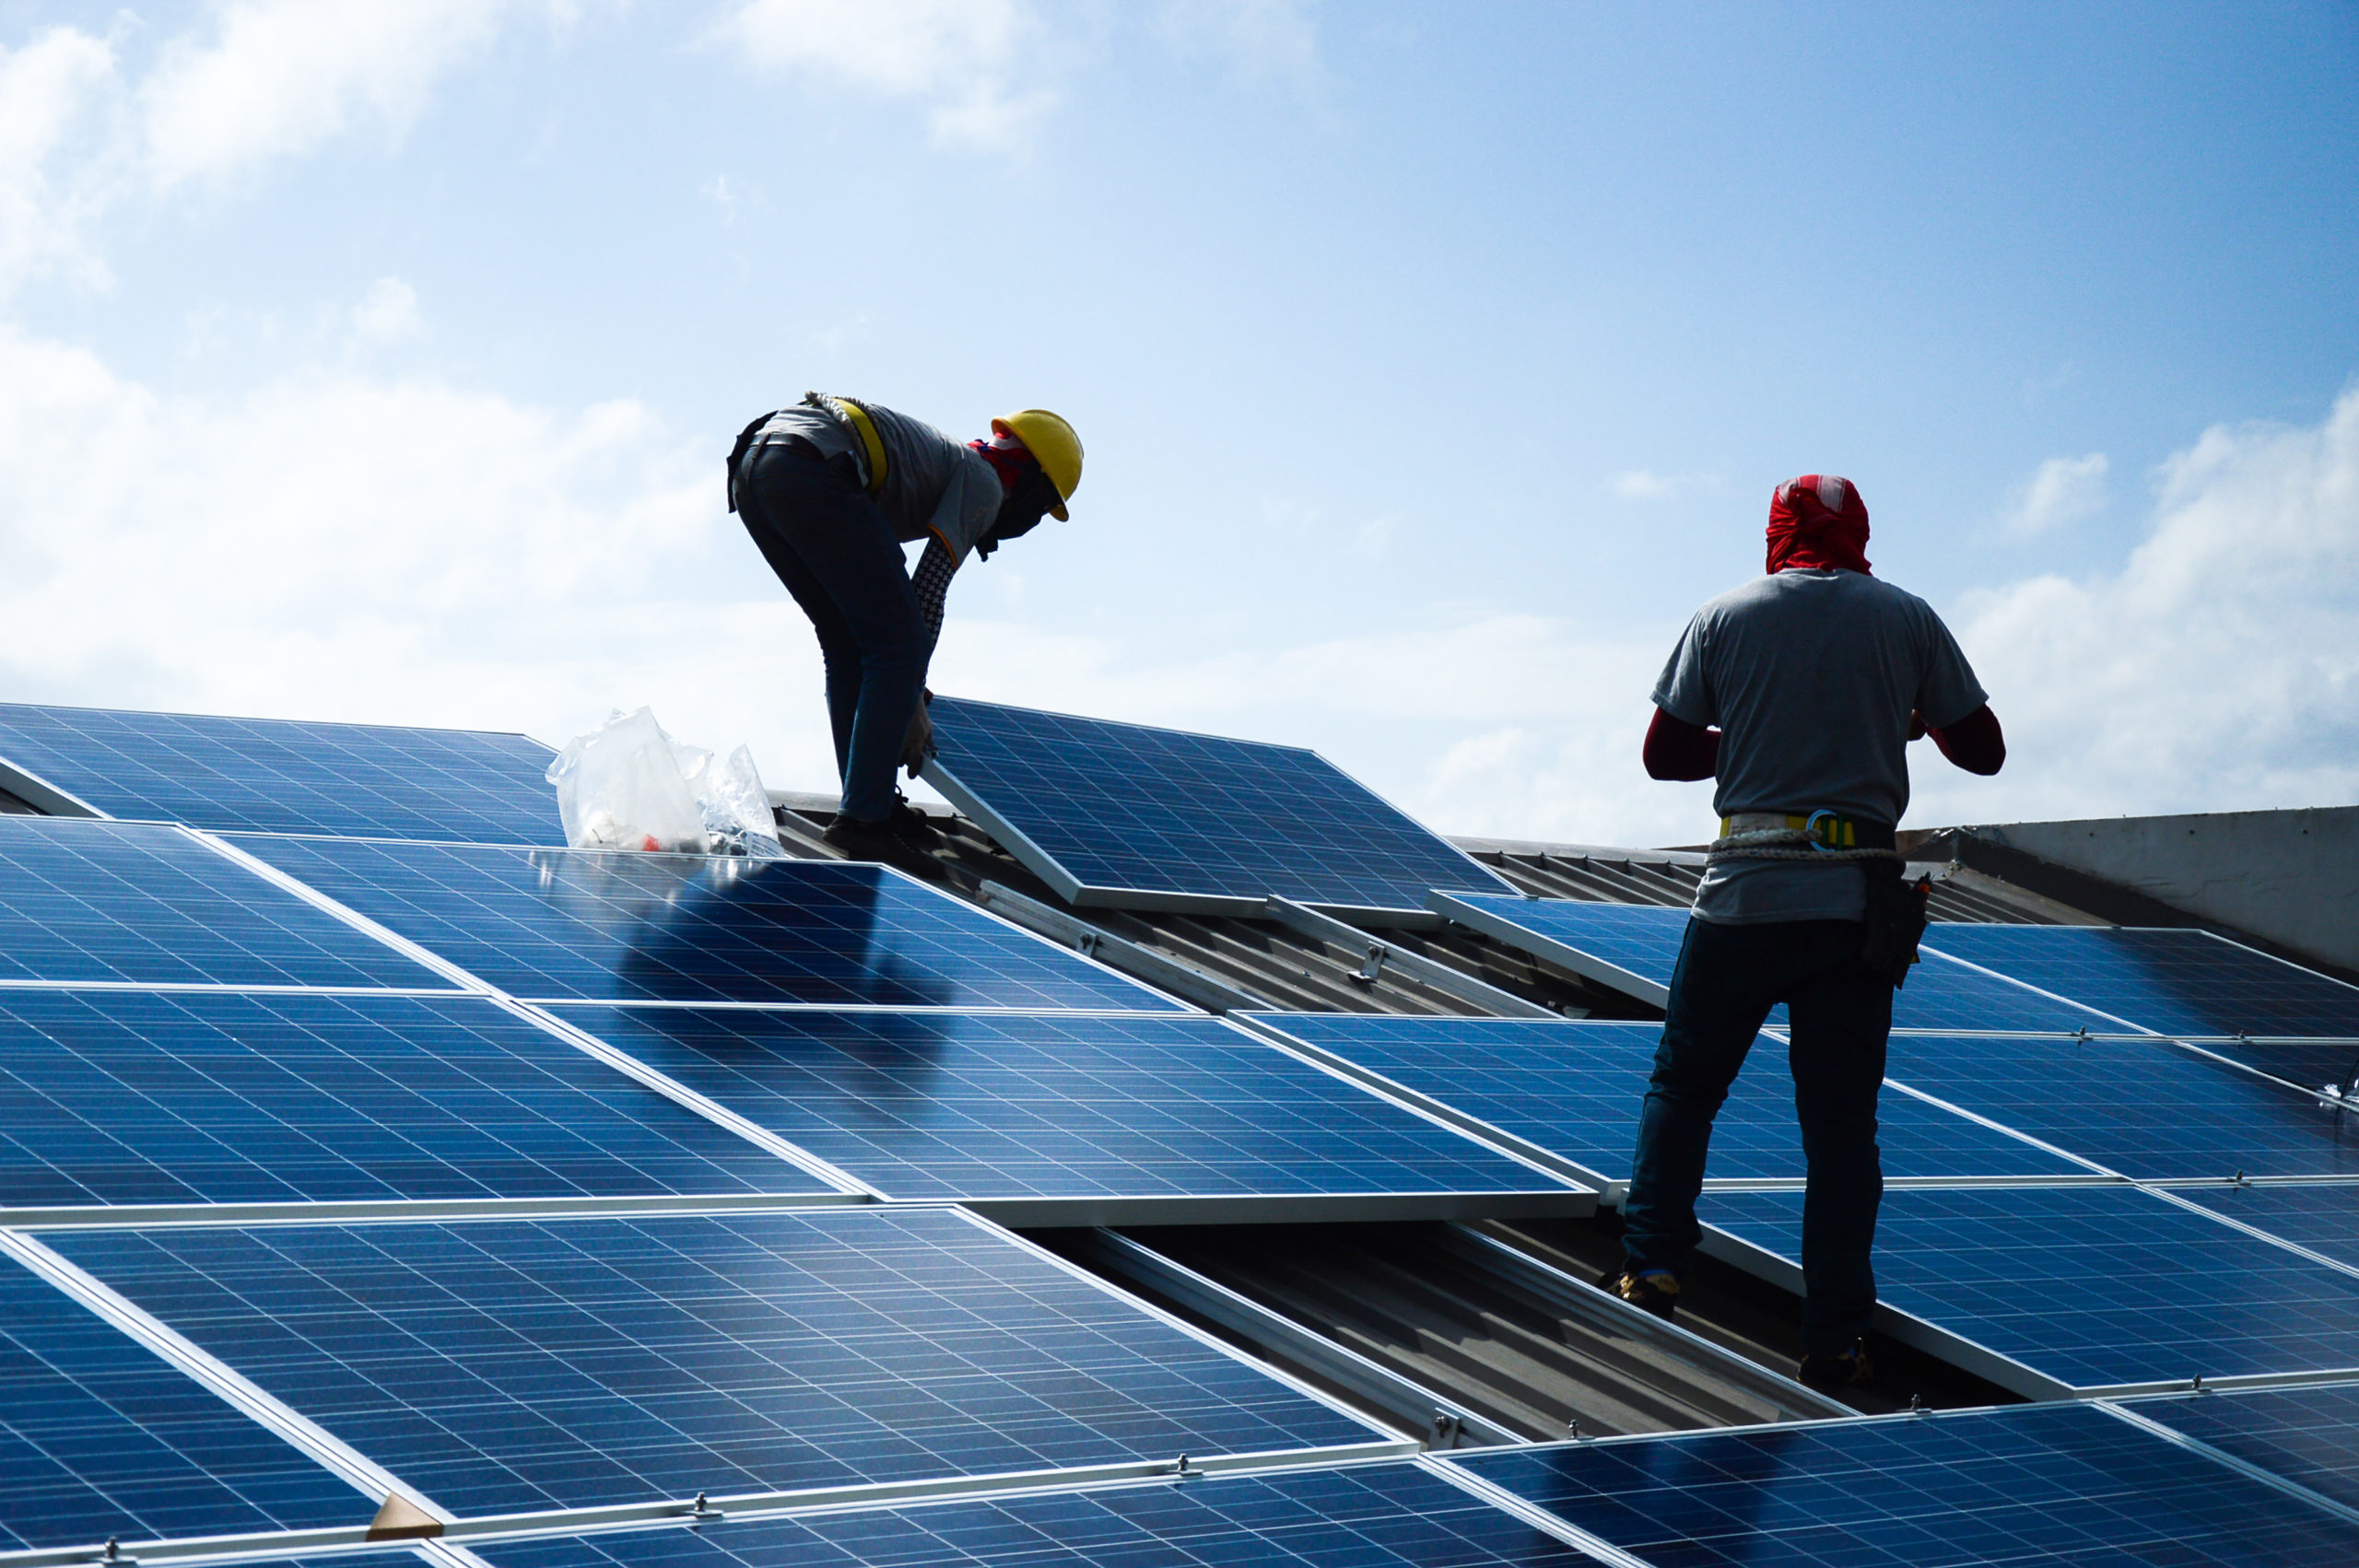
Assemble the solar panels
After fixing the rooftop solar panel structure firmly and accurately, the next step is to connect the solar modules to it. Ensure all the bolts and nuts are attached to the solar panel structure so that the panels are firmly secured and will last long. Ensure the brackets and the solar rails system is slanted as needed. Lay the solar panels in the brackets as per the manufacturer’s instructions.
Electrical wiring and inter-panel connection
The whole essence of installing solar panels is to generate electricity. Typically, MC4 connectors are used for connecting. These are universal connectors that can be used on any solar panel. This is a critical step, and the connection between the panels should be made correctly in a series, or a parallel connection.
Connect to a solar inverter
This is a device through which solar power connections are terminated. The inverter connects the entire solar panel system comprising of the existing grid input, the batter for power storage to generate electricity.
Connection to the battery
A battery is a fundamental component of the solar panel power system. It is used for power backup. The battery is connected to the solar panel through the connection terminated in the inverter. The battery is meant to store the power generated.
Connecting to the power grid
This connection of the solar power to the main power grid is made through the inverter too. The connection is made by directly plugging it to the switch board. However, before you join the solar power to your electricity grid, a government inspector should inspect the system and approve. After successful installation and connection, you switch the mains. The power generated for the solar panel system is displayed on the digital display in terms of Power units.