


Adding a solar system to your RV will require a few tools and some courage. Most RV’ers will buy a solar kit, which will likely contain your panels, lithium batteries to store the sunshine, an inverter to turn the gathered solar power into usable electricity, and several feet of wire.
Check The Paperwork
If you’re installing a full solar system, you’ll need to confirm this change with your insurance. This is critical if you’re building a frame on which to mount your solar panels.
However, it is possible to buy flexible solar panels that can be glued directly to the roof of your RV. If you choose to use the self adhesive panels, make sure to carefully clean the roof before applying!
Disconnect for Safety
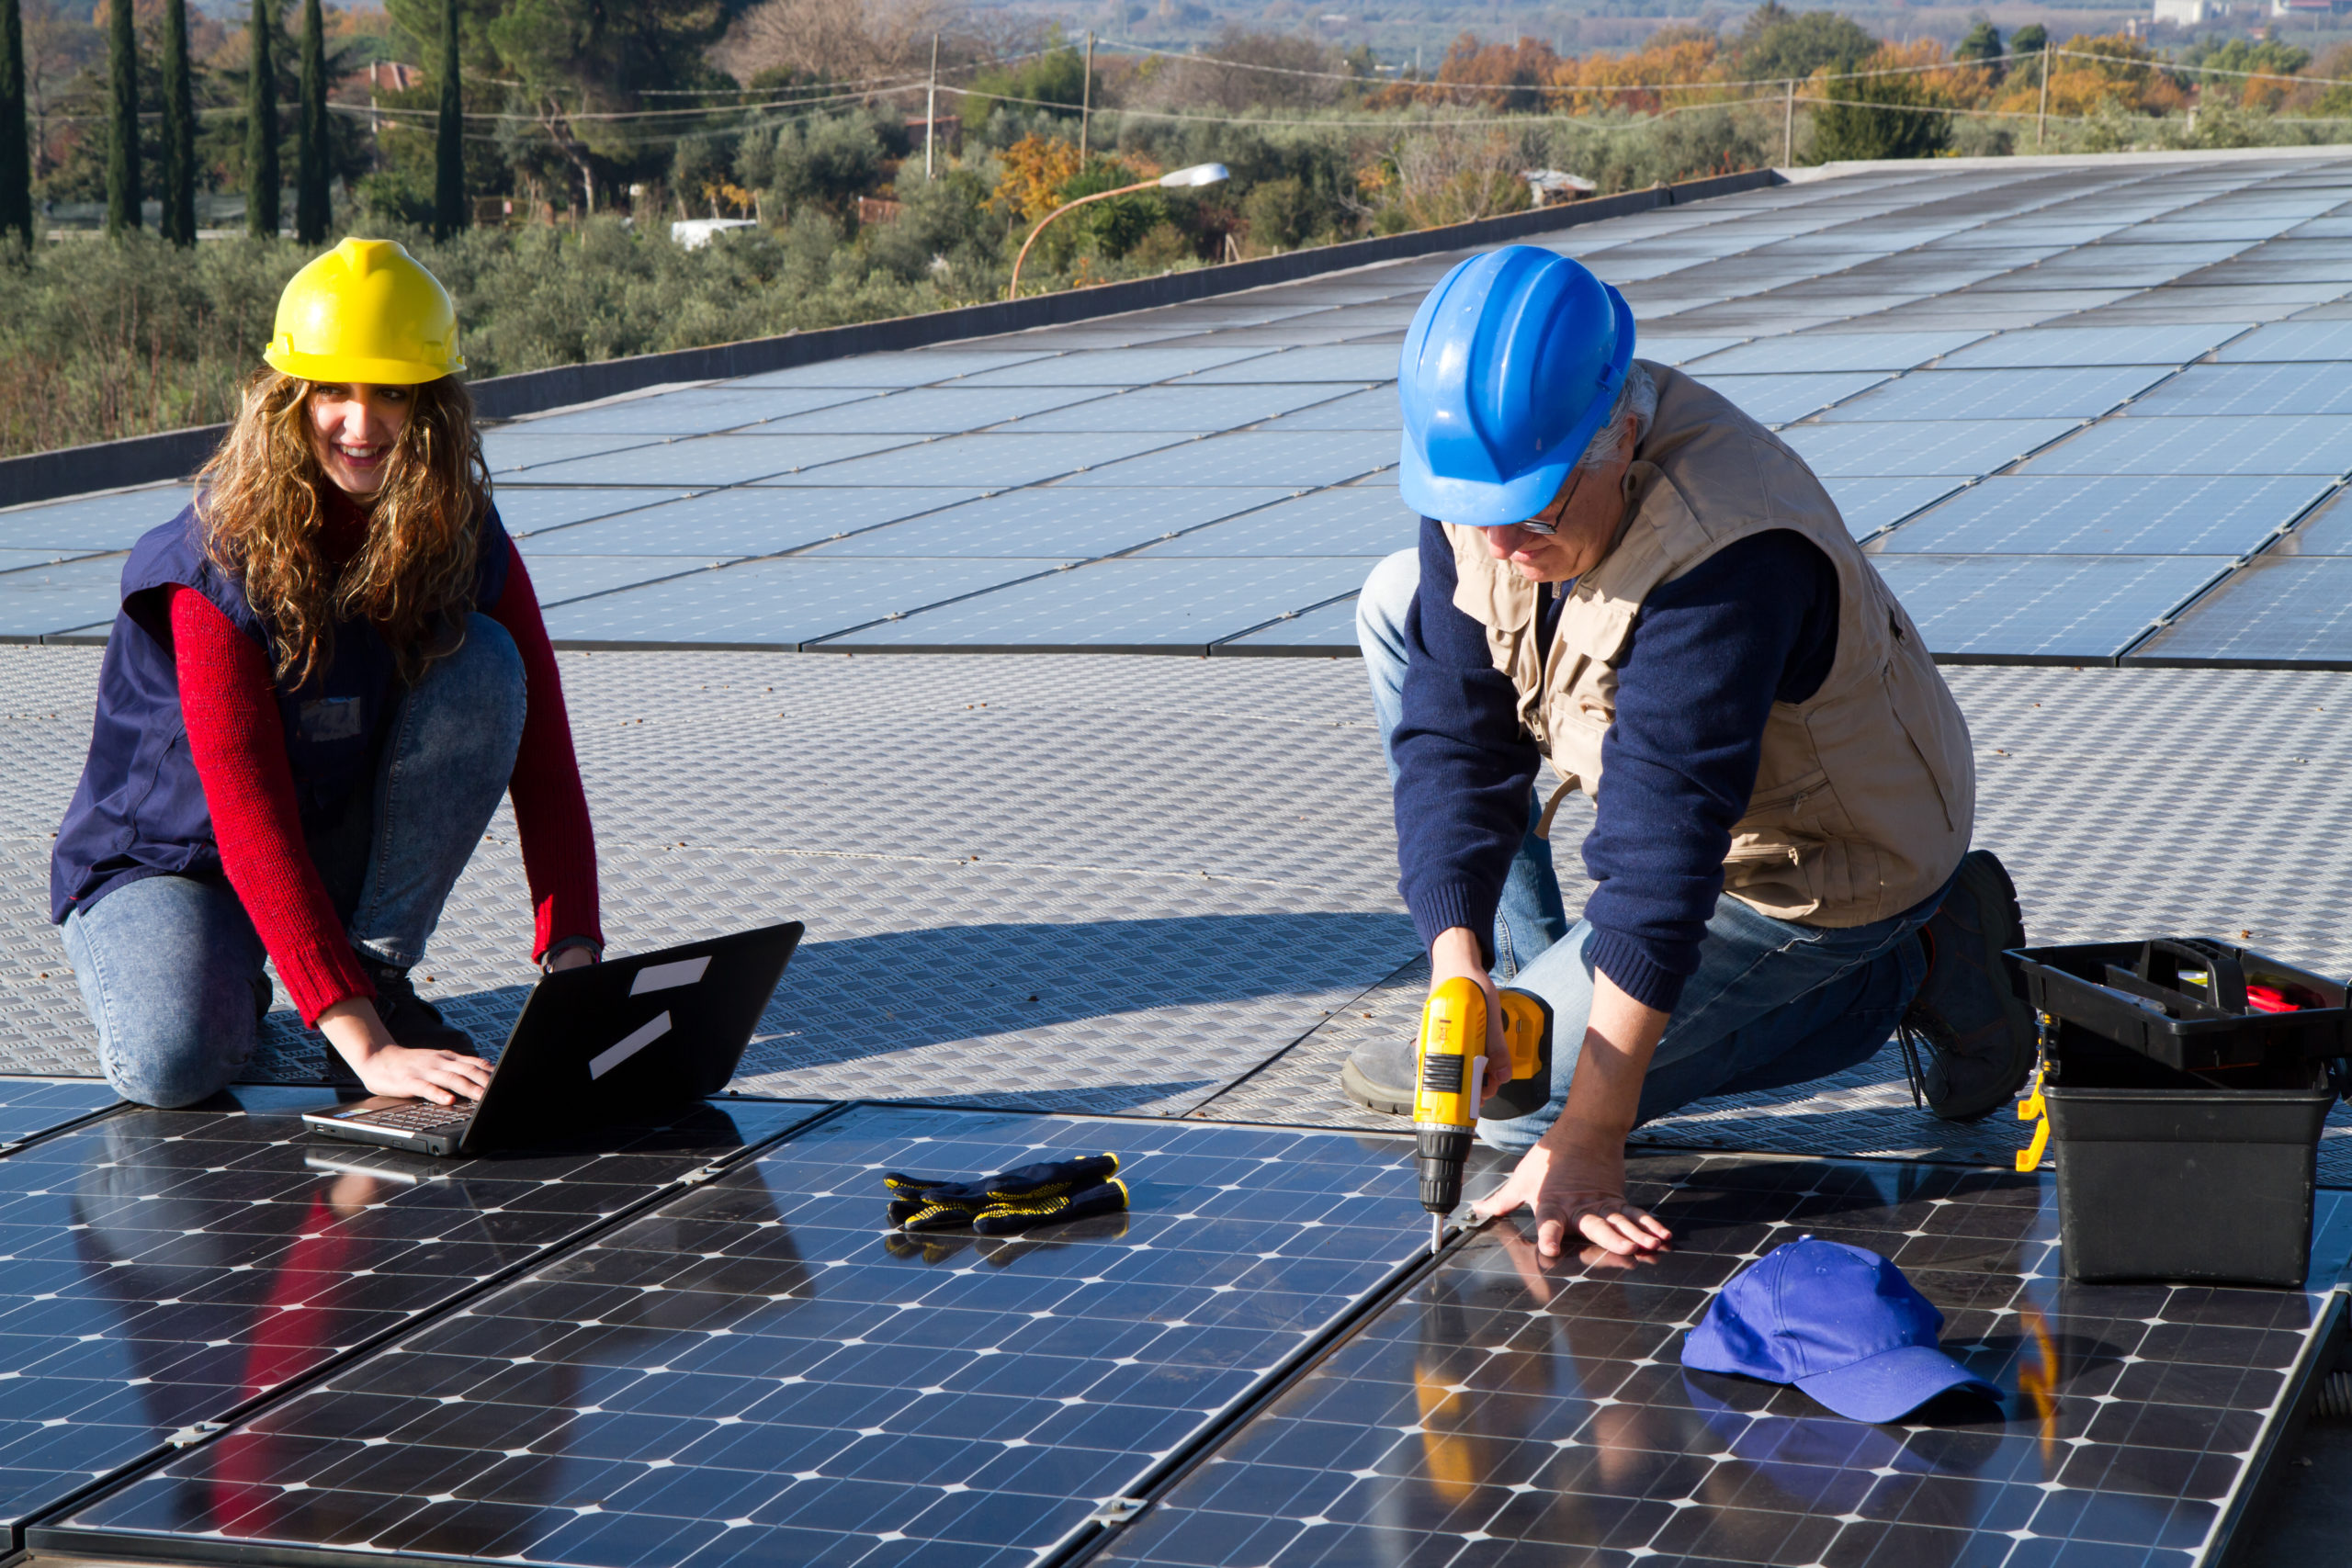
Whether you’re installing a full boon-docking power system or a simple trickle charger, it’s critical that you disconnect the existing power before adding anything to the electrical system. You’ll also be crawling around on your roof to measure and prepare for the installation.
Interior Planning
Inside your RV, you’ll need to find a spot for the controller. This will need to be easily accessible. In addition, you will always have energy loss (and likely some warmth) in the cables that run from your solar batteries down to the controller. These wires, for safety, should never be run near any gas lines.
Work With Existing Access Points
Your rig likely has plenty of spaces where wires are already run. Whenever possible, use these wire chases for your solar battery wires. Any breach you make in the fiberglass or metal of your RV puts you at risk for water leaks.
Older solar panels had to have wooden framing to support the panels on the roof of your rig. New panels have adhesive on the backing and can be glued directly to the roof. Even if you can avoid breaking the “skin” of your RV, make sure that you seal around the outside of your glued panels to prevent wind and water damage.
Leave Yourself Cable
When running your new solar cables down to the existing battery bank and charging system, take care to leave yourself plenty of cable on the top end. Also, be aware that you may eventually want to add more panels. Once your cables are run and you’re ready to hook up your solar to the cable, use a wire tie to leave yourself one more loop for the future.
Final Thoughts
Each rig is different, so if possible, plan your wire layout with some access. You may need to run wire under your rig. Take care to secure it in place to avoid any rubbing that could cause a short. Disconnect before you start, and never run wire near any piping that contains gas.